
How To Create a Festive Winter Greenery Arrangement
Just as the change of seasons brings crisp weather, new holidays to celebrate, and family togetherness, it also brings a change in home décor! At Board & Brush, we love to decorate for each season – in fact, it’s our livelihood! While it’s always our goal to make it easy for you and your friends to come and make beautiful, rustic DIY décor, we also love to share our tips and tricks for home décor beyond our wooden projects.
This winter, we are sharing our best advice for arranging winter greenery outside your home. We think these arrangements make the perfect addition to any front porch…well, that and a Board & Brush porch sign & doormat! Come along as we create these festive potted arrangements, we hope you’ll feel inspired!
Materials We Recommend:
- A large planter (Board & Brush’s box planters work perfectly!)
- 3 Birch logs (varying heights & thicknesses)
- Dried red huck branches
- Variety of greens – we recommend pine, spruce, cedar & blue berried juniper
- Extra adornments – we recommend red berry stems for color, as well as loose pinecones for fullness

Step 1: Prep your planter
You’ll want to start with a large planter or pot. Don’t have one at home? Come on into a Board & Brush specialty workshop and make one of our festive box planters! They are sturdy, decorative, and the perfect size for what you’ll be creating.
Next, fill your pot near the top with fresh soil – you’ll want plenty of soil in there to hold your greenery upright. The last step will be to add some water to the soil to ensure that it’s loose enough to easily place your birch and greenery sprigs.


Step 2: Place your Birch Logs & Huck
When it comes to arrangement, you’ll want to start with your birch logs and red huck. While your greenery will help give fullness, the logs will help create structure and variation in color and visual interest. Be sure to push the logs into the soil far enough so that they stand up straight and can withstand wind and snow.
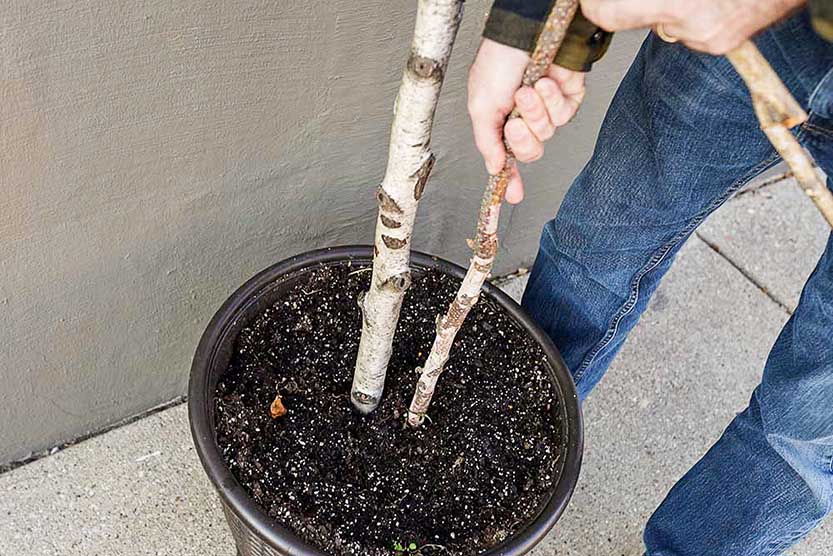

Step 3: Begin Arranging Your Greenery
Here is where it’s time to get creative! As mentioned above, we recommend working with a variety of greens (spruce, pine, cedar, blue berried juniper). These different greens play well off each other’s textures, heights, fullness, colors, and scents.
Start by inserting one kind of greenery in your pot in varying locations. Next, begin filling in your other types of greenery to achieve a beautiful mix and your desired fullness. It’s important to remember that there is no right or wrong way to do this! Feel free to change and move pieces around until you have a final look you love.
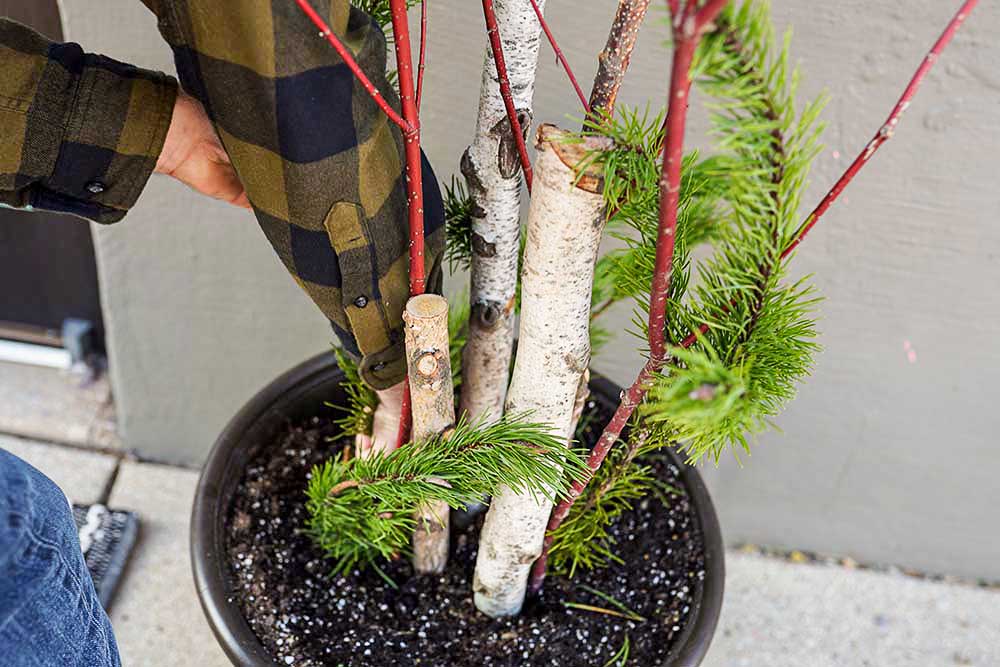
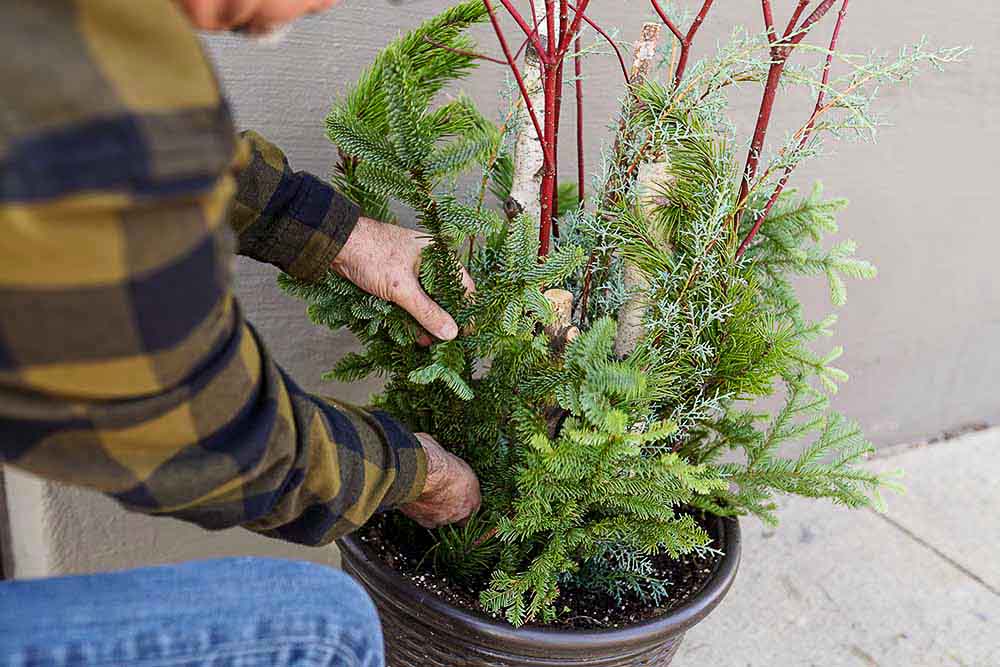

Step 4: Add Your Extra Adornment
Once you are happy with your final greenery arrangement, it’s time to add the finishing touches! For a pop of color, try adding some bright red berry stems throughout the planter. Then, in order to fill out the top of the soil a bit, scatter a few loose pinecones. You’ll quickly see how these little touches make a huge difference in your final display!
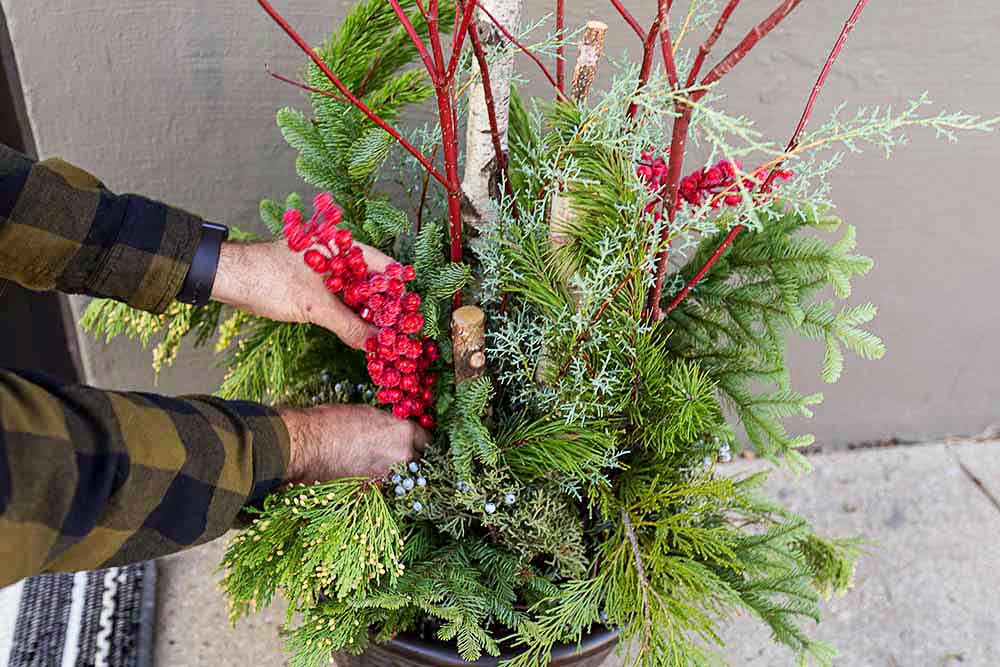

Step 5: Display On Your Porch
With your arrangement now complete, it’s time to find the perfect spot to display it outside your home! Consider high-traffic areas like a front porch or back patio where plenty of guests will see and admire your beautiful work. Remember, if you ever need to make any last-minute adjustments or replace any greens, you absolutely can! The best part about these arrangements is that nothing is ever set in stone.
Ready to give it a try? We can’t wait to see what you create! Be sure to tag @boardandbrushcs when you share your arrangements…we’ll be your biggest fan! We also hope to see you in a workshop soon, perhaps to create your box planter?
Check out our greenery arrangement video:


