HOW TO: Create a Fruit & Floral Arrangement for Summer!
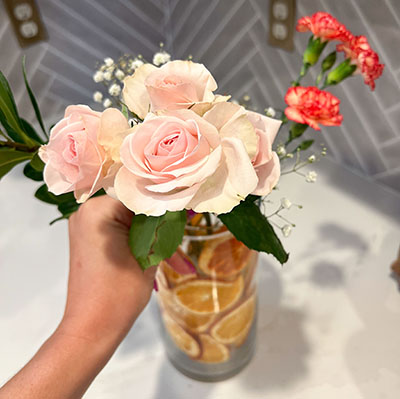
Summer & florals go hand-in-hand! But what happens when you want to take your floral arrangement to a new level? That’s where this fun DIY project comes in!
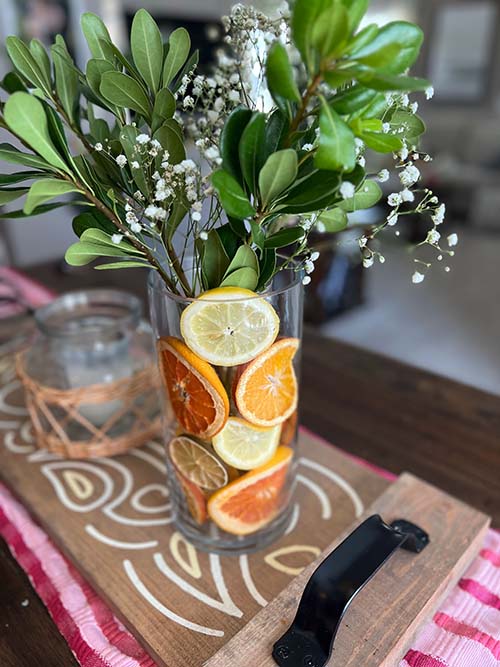
We love the idea of mixing summer flowers and bright fruits together for a standout floral arrangement. Your guests won’t even believe that this creation wasn’t designed at the floral shop!
Follow along as we walk you through the process of bringing this unique idea to life:
What you’ll need:
- Citrus (we chose a mix of mostly oranges and grapefruits, with a couple of lemons and limes mixed in)
- Floral mix
- Large baking pan(s) or wire rack(s)
- Parchment paper
- 2 cylindrical vases – approximately the same height, but one must be slightly smaller in diameter than the other. One vase must be able to stack inside the other vase

1. Slicing your citrus
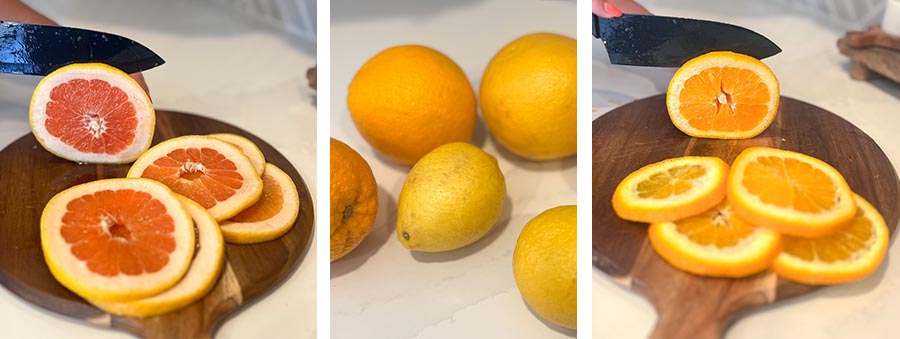
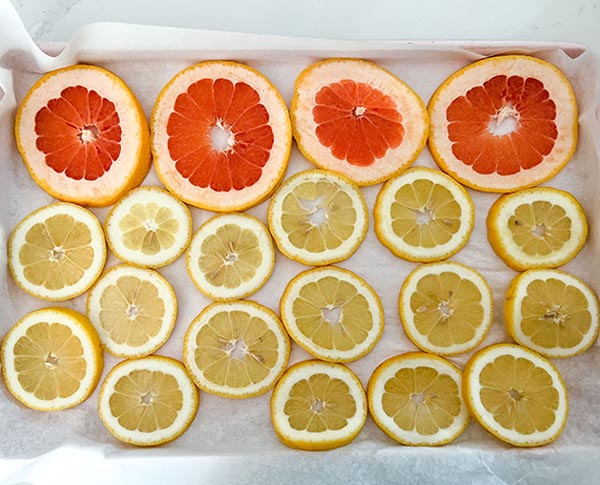
Slice your citrus into 1/4-inch slices. Be sure to cut down the citrus horizontally so that you see the citrus pattern in each slice.
2. Dehydrate the Fruit
Dehydrating the citrus is an important step to ensure longevity and avoid mold growing in your vase.
- Preheat the oven to 175F, or the lowest temperature it will go to.
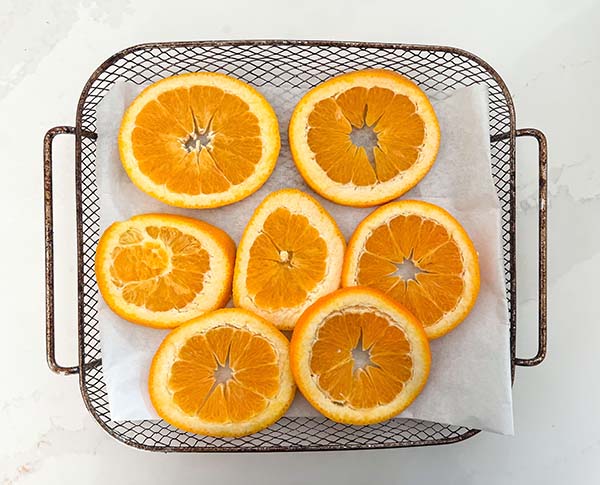
- Lay out a sheet of parchment paper on your wire rack or baking sheet, then lay organize the citrus in a single layer across the sheet.
- If the slices are very juicy, use a paper towel to gently pat each slice to remove excess moisture.
- Bake the slices for 3-4 hours, flipping every 30 minutes.
3. Organize the fruit in your vase
Once your fruit has been fully dehydrated, you’ll begin the organization process:
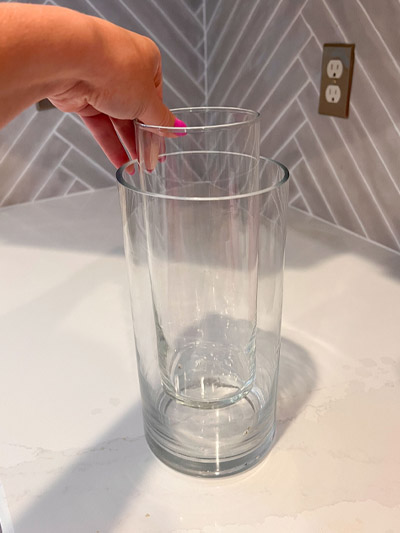
- Stack your smaller vase into your larger vase
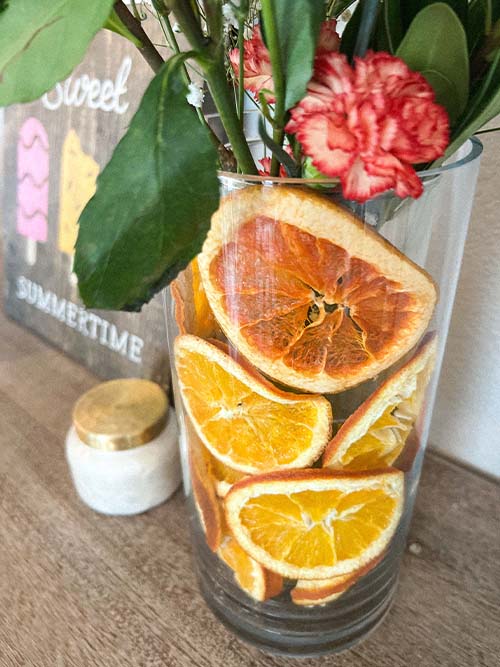
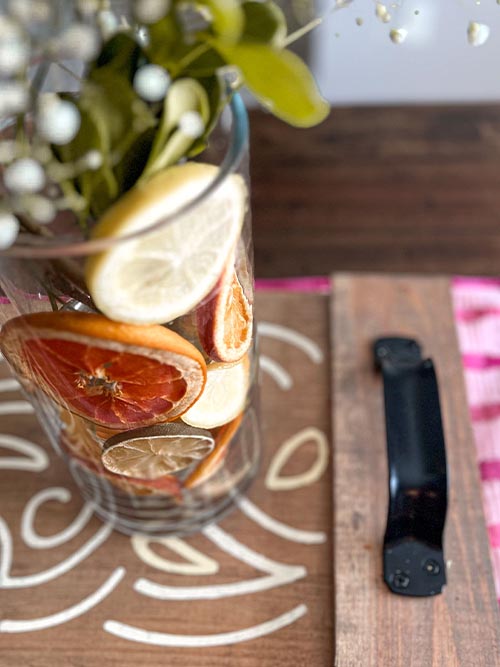
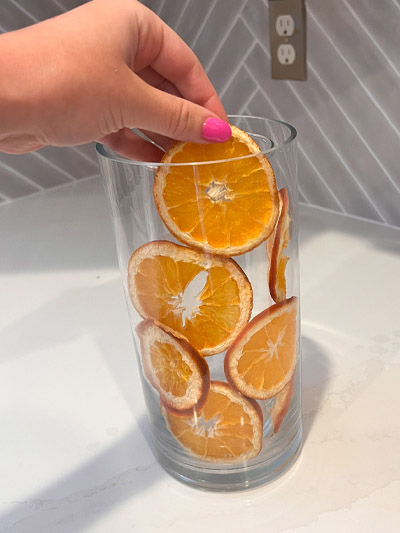
- Then, begin dropping slices of fruit in the small gap between each vase. There is no right or wrong way to do this – feel free to mix up colors and slice sizes! It may be helpful to use a butter knife to maneuver the fruit once it’s been placed in the gap.
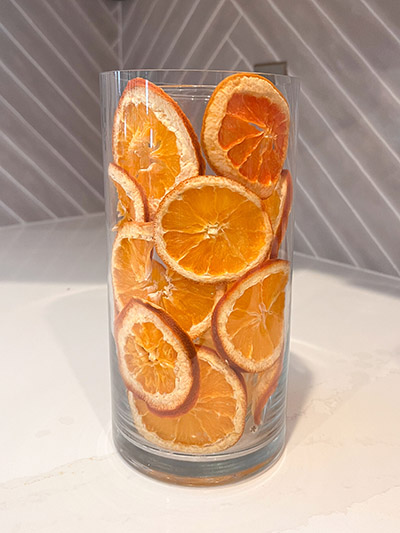
4. Arrange the floral
Now that your fruit is positioned, you can begin adding your floral to your middle vase (don’t forget to add water first). As with fruit arranging, there’s no “wrong” way to create your floral arrangement!
5. Enjoy!
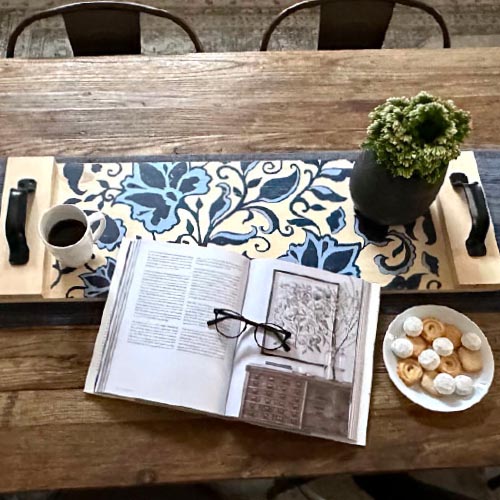
Now that your vase is finalized, it’s all about finding the perfect spot to display it in your home! Perhaps you can even pair the vase with a unique DIY project from Board & Brush – we have a variety of trays and trivets perfect for a table centerpiece!
