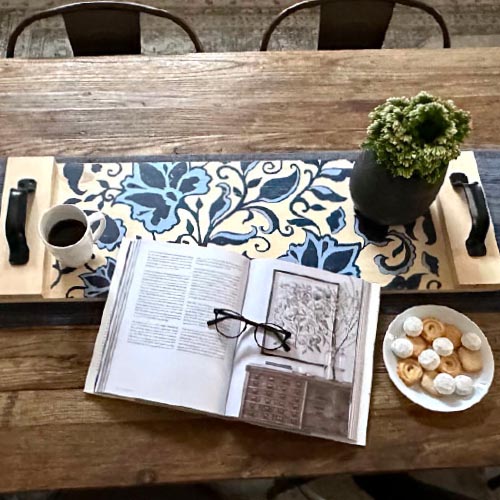
DIY Whimsical Winter Trees
At Board & Brush, it’s no surprise that we’re always looking for new ways to create stunning décor for your home. While our gallery is filled with wall signs, trays, porch projects, and more, we know that sometimes you just need to find (or create!) the perfect accent piece to complement your new work of art.
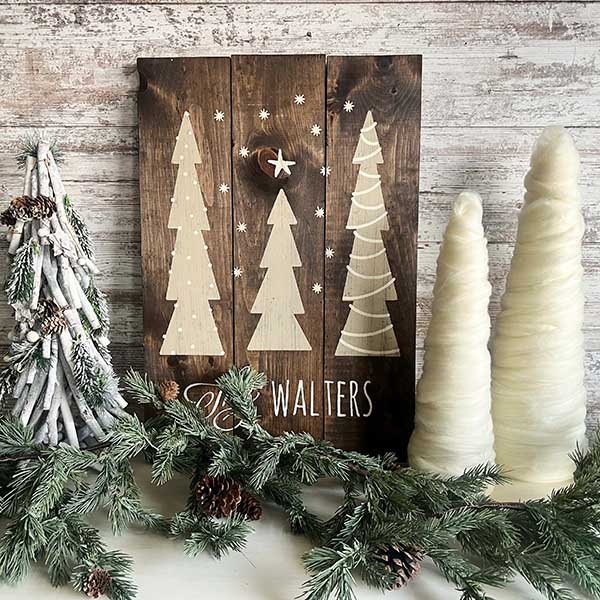
That’s where this new DIY craft comes in! Follow along as we create stunning whimsical trees, just in time for the winter season.

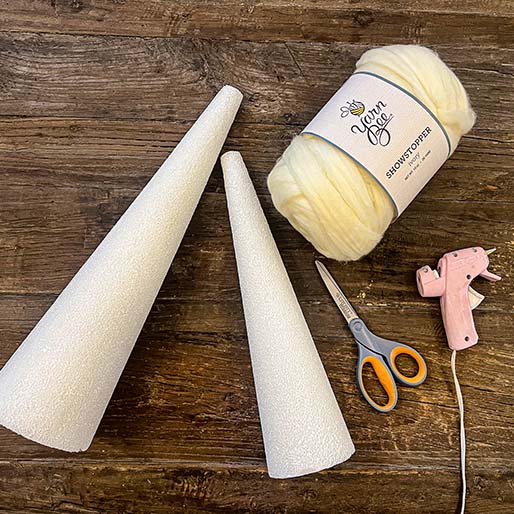
First, gather your supplies:
We will be making two trees. Multiple your supplies according to the number you’d like to make.
- 2 Styrofoam craft cones of varying heights (can be purchased at your local craft store)
- Whimsical yarn in your chosen color (we recommend a yarn with the following content for the ultimate fluffy and whimsical look: 50% Acrylic, 35% Polyamide & 15% Wool)
- Glue Gun
- Scissors
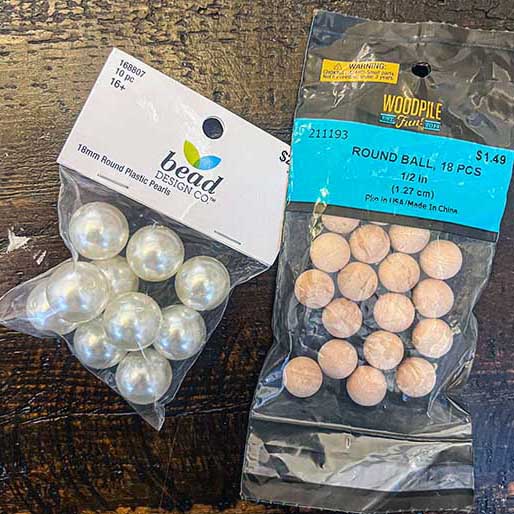
- 1/2″ Wooden balls (optional decoration)
- 18mm Plastic Pearls (optional decoration)

Creating your Whimsical Winter Trees:
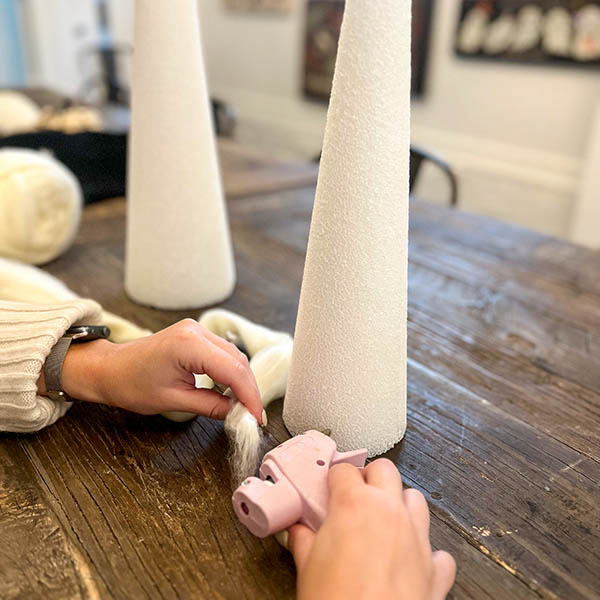
- Begin by gluing the end of your yarn to the base of your styrofoam cone. This will ensure that the yarn stays in place as you wrap it around the entirety of the cone.
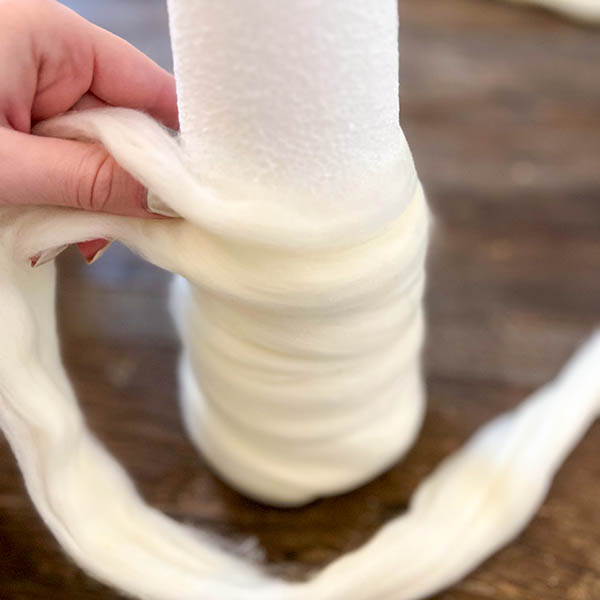
- Slowly begin wrapping the yarn around the cone in an upward motion. There’s no “wrong” way to do this. You’ll just want to ensure that the entire cone is covered with yarn.
- Once at the top of the cone, give yourself about 4″ of extra yarn, and then cut with scissors.
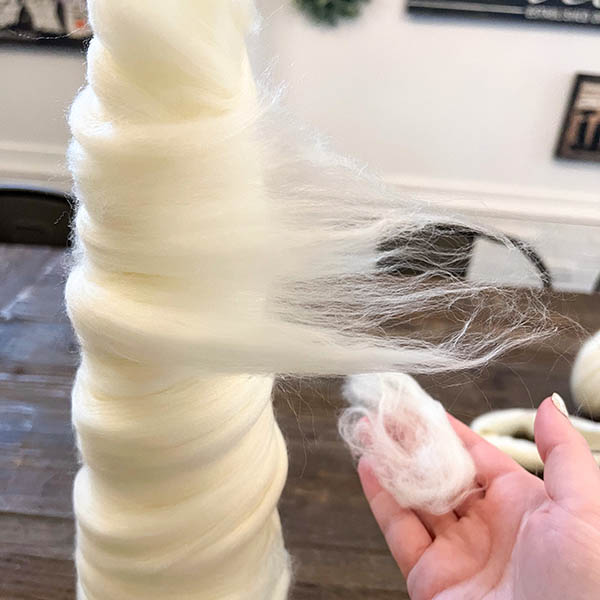
- Then, carefully pull at the end of the yarn to remove bulk, making the end thin and whispy. This will allow you to gently wrap the end around the cone, making it look like a seamless finish. There’s no need to glue the end down, the yarn will “adhere” to itself.
- We recommend going back in to repeat this process to add extra texture and a variation of thickness. This helps to achieve the look of layered snow on a tree.
- Once you’re satisfied with the end result, continue this same process with your second cone!

BONUS:
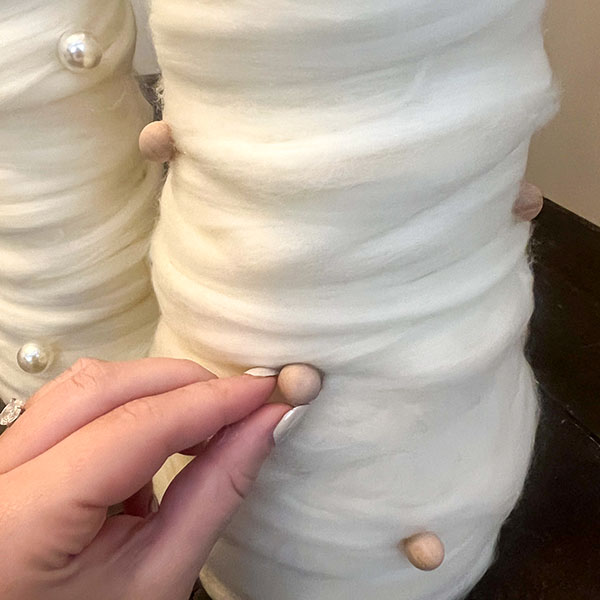
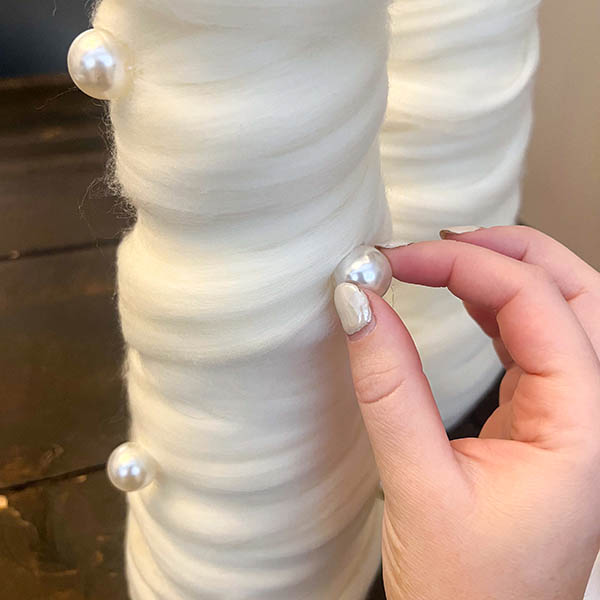
For an added flare, we decided to add some “ornaments” to our whimsical trees. To you this, you’ll just need hot glue and your favorite circular adornments. We chose wooden balls for a farmhouse feel, as well as plastic pearls for a more glamorous look. You could also try small metal bells or fluffy pom poms!
Simply use a dab of hot glue to place your ornaments in an equally spaced manner around your tree.
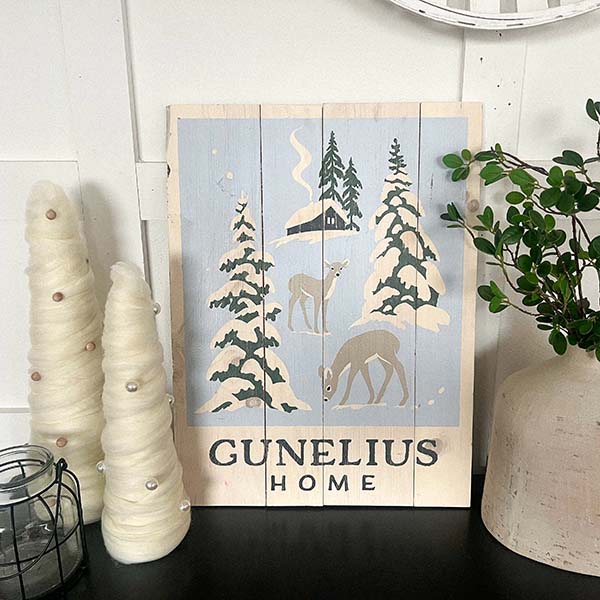
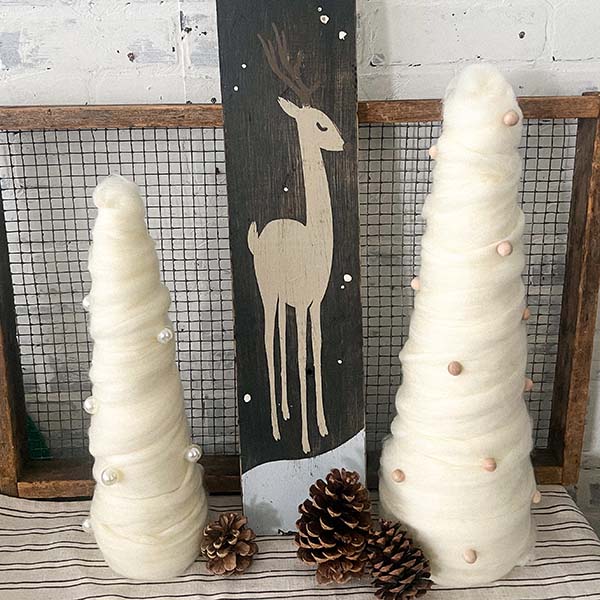

And Voilà!
Now you have some new winter DIY pieces to go along with your Board & Brush holiday décor. Your guests this holiday season will surely be wowed by your creativity!
You made the trees but now you need a matching décor piece? That’s where we come in! The holiday season is one of the best times to visit our paint & sip workshops. We strive to create a warm and inviting atmosphere that feels a lot like Santa’s workshop this time of year! So gather your best friends and visit your local Board & Brush studio to get your DIY on.
