GALLERY WALLS: FROM GOOD TO GORGEOUS IN 4 SIMPLE STEPS
Chances are you have a special wall in your home where you display your most cherished photos. Have you ever wondered how to make it look like more than just a collection of pictures? Here are four easy steps to turn your special wall into a personalized, professional-looking wall gallery that is sure to become one of the highlights of your home.
Step 1: Pick Your Pictures
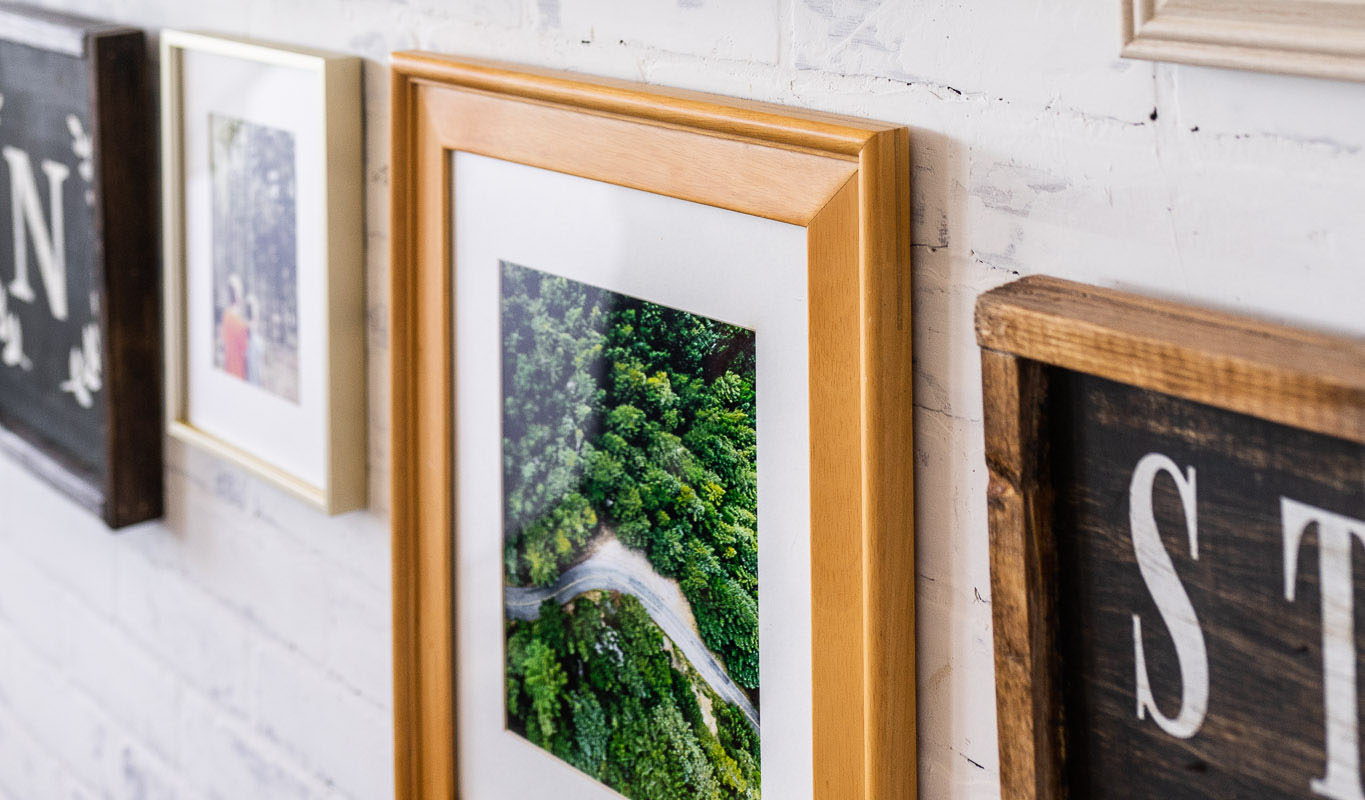
Most people think primarily of family photos for a wall gallery, but adding in a few other types of photos – like a favorite landscape or scene from your hometown – will help give your gallery a more interesting feel. You can add variety in other ways, too. Use a mix of portrait (vertical) and landscape (horizontal) formats. Pick out a different size photos. Colors in the photos can vary, but they should complement each other as much as possible.
Ideally, your gallery should have a theme or tell a story. It might be as simple as “family” or “summer.” The point is to choose photos that feel like they go together in some cohesive way.
Once your pictures are selected, there are two basic approaches for choosing frames. One is to go with frames that are all the same, for a clean, consistent look. Or you can select a variety of colors, textures, and materials for a more contrasting, eclectic look. There are no real rules; If you like it, it’s a good choice!
Step 2: Add Some Art
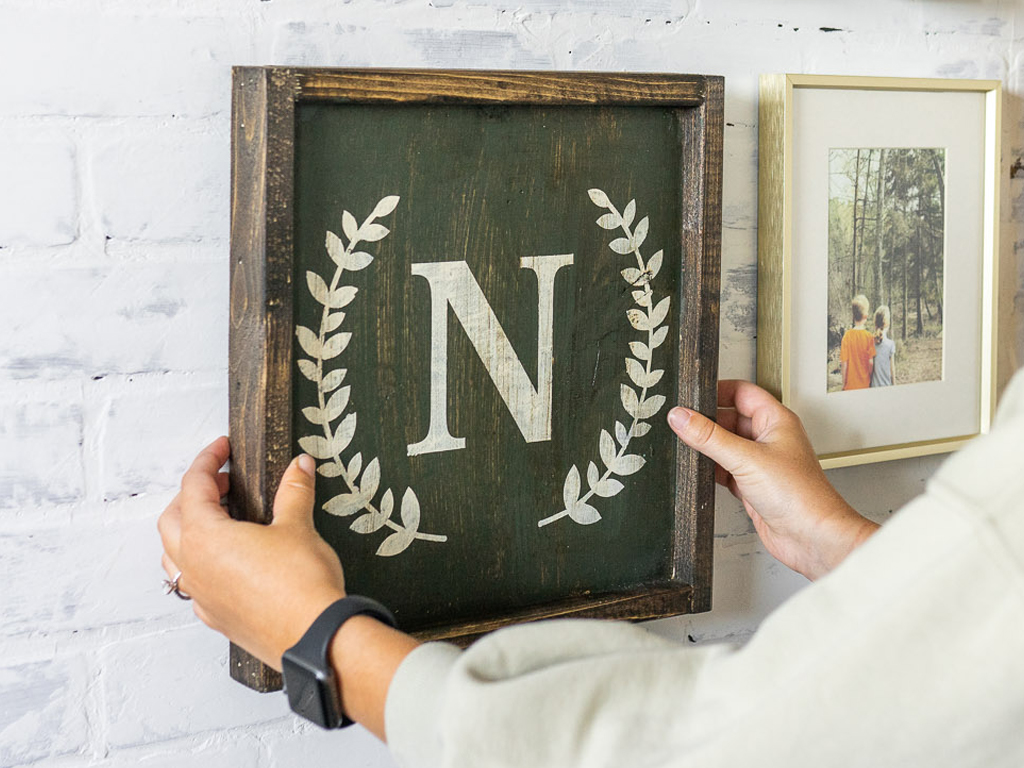
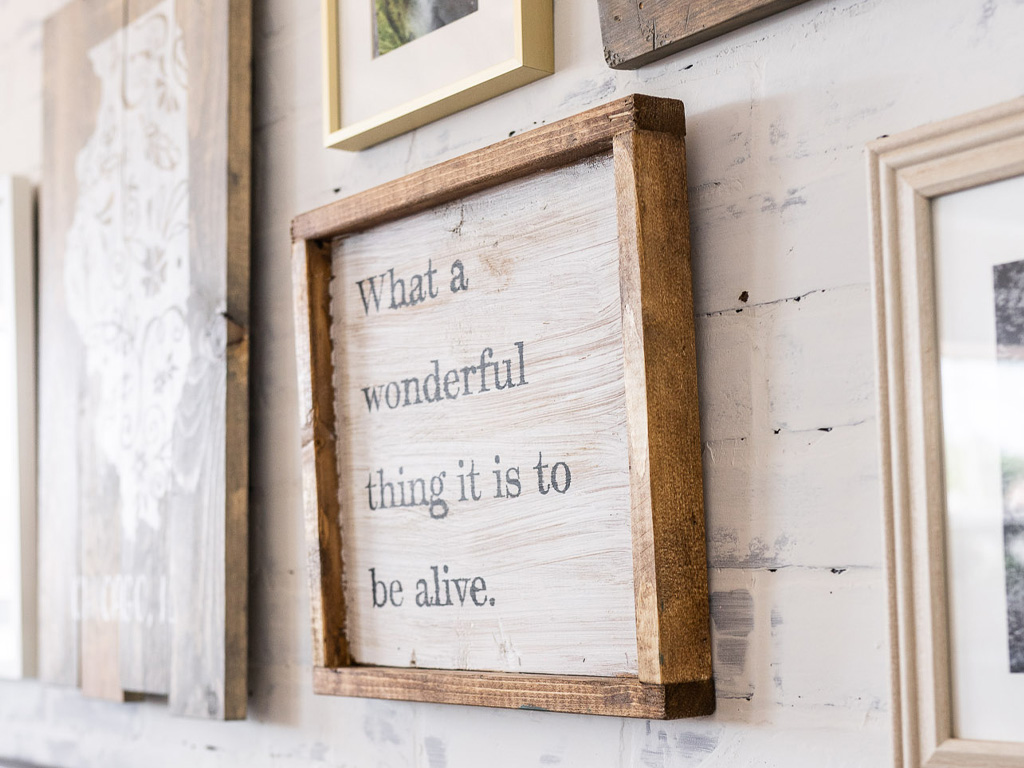
One way to make your gallery wall really stand out is to add artwork that complements your photos (and frames). A great place to start is with a Board & Brush wooden sign. A sign that you create yourself not only adds textures and creates a warm, cozy feeling, it can express a special message to give your wall an extra personal touch.
And with so many different sizes and styles to choose from, you don’t have to settle for just one. Plus, even if your photos remain the same, you can give your wall a seasonal touch by swapping out different signs for different times of year. Whatever holiday is coming up, you can be ready!
Step 3: Make a Map
Before you start fixing photos to the wall, make sure you know where they’re all going to go. Start by laying all your photos and art pieces on the floor, which allows you to try different layouts before making any commitment on the wall. It’s also helpful to mark out an area that’s similar in size to the wall you’re planning to use.
As you arrange them, pay attention to mixing up sizes, colors, and textures. Spacing should be consistent, but feel free to experiment. If you find an arrangement you like but aren’t quite sure, take a picture with your phone! This makes it easy to come back to it if you don’t like the next thing you try.
Step 4: Installation Included
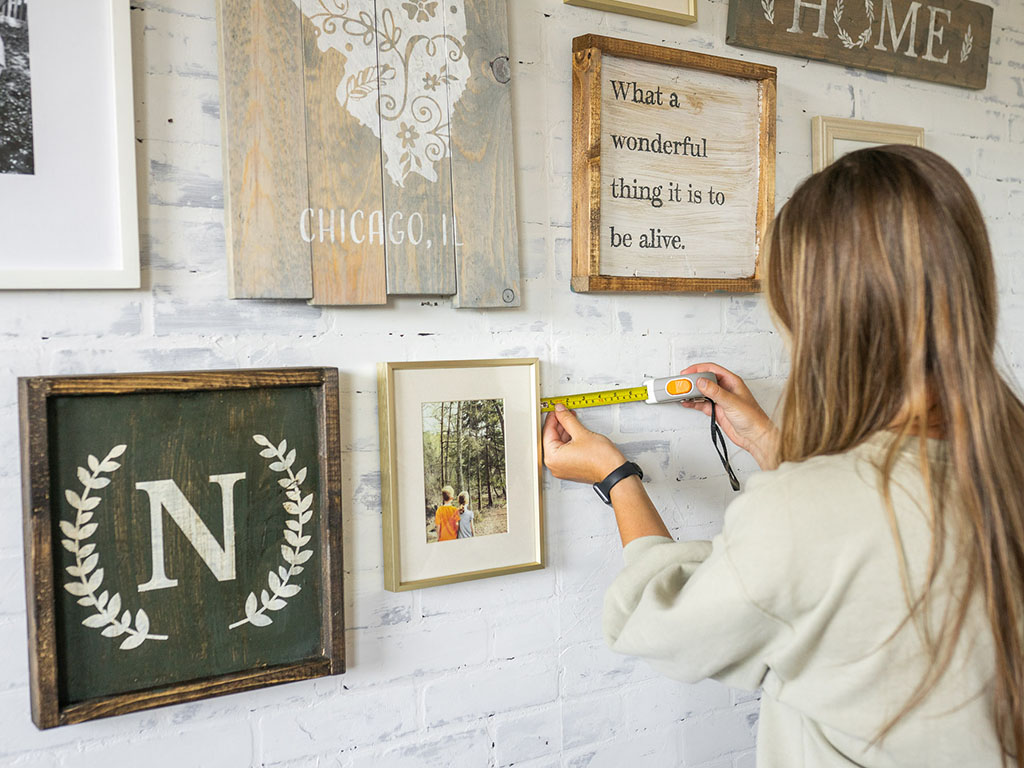
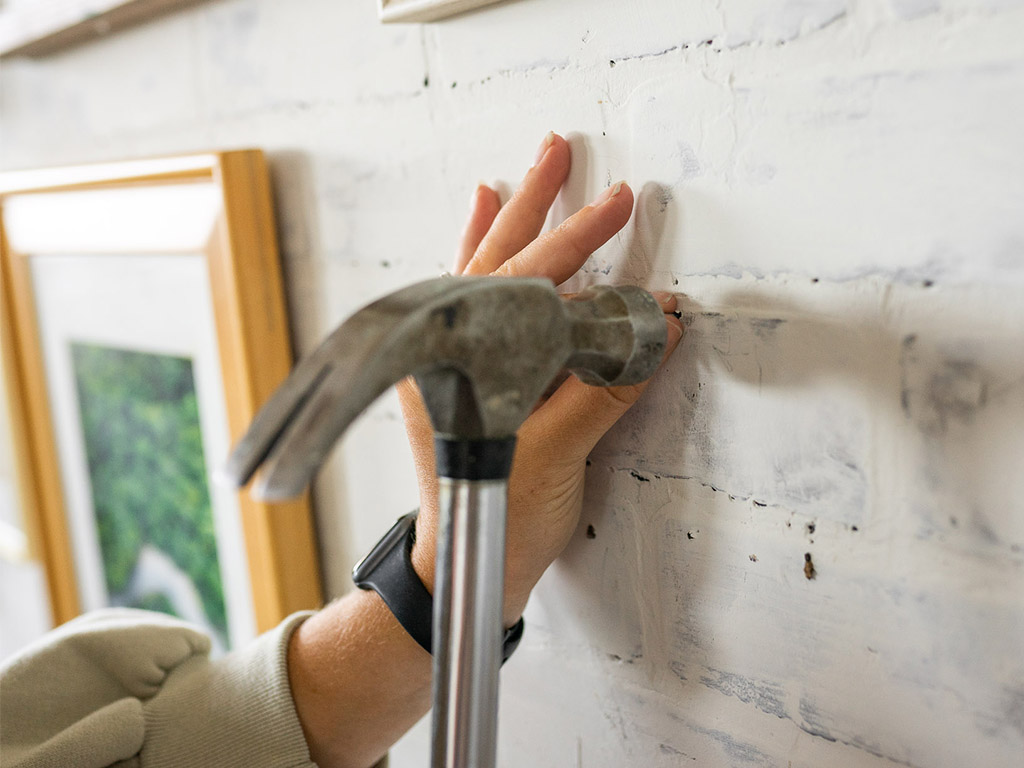
Once you find the perfect arrangement, you’re ready to hang them up. This is no time to rush things, and precision counts. We recommend grabbing a tape measure and hanging items one at a time.
Start on the left side, making sure you have enough room to hang the entire layout. Leave the other items arranged on the floor for reference. Measure the space between them (at least an inch is a good rule of thumb) and keep it consistent as your add more pieces.
If you don’t want to put nail holes in your wall, Velcro strips are a great option. They won’t damage your wall and make it easy to move items around. Just be sure to stay within the recommended weight limits on the packaging.
Wall-la! You’re Done.
Now you have an amazing wall gallery that’s sure to be one of the highlights of your home. It’s personal, it’s meaningful, and best of all it’s flexible; there’s no reason it has to stay exactly the same forever. And remember, you can change out photos while keeping the same frames in the same place, so you don’t have to re-do anything to keep it fresh and relevant.
To get started on making your own personalized wood sign, contact your local Board & Brush Creative Studio and schedule a workshop today!


