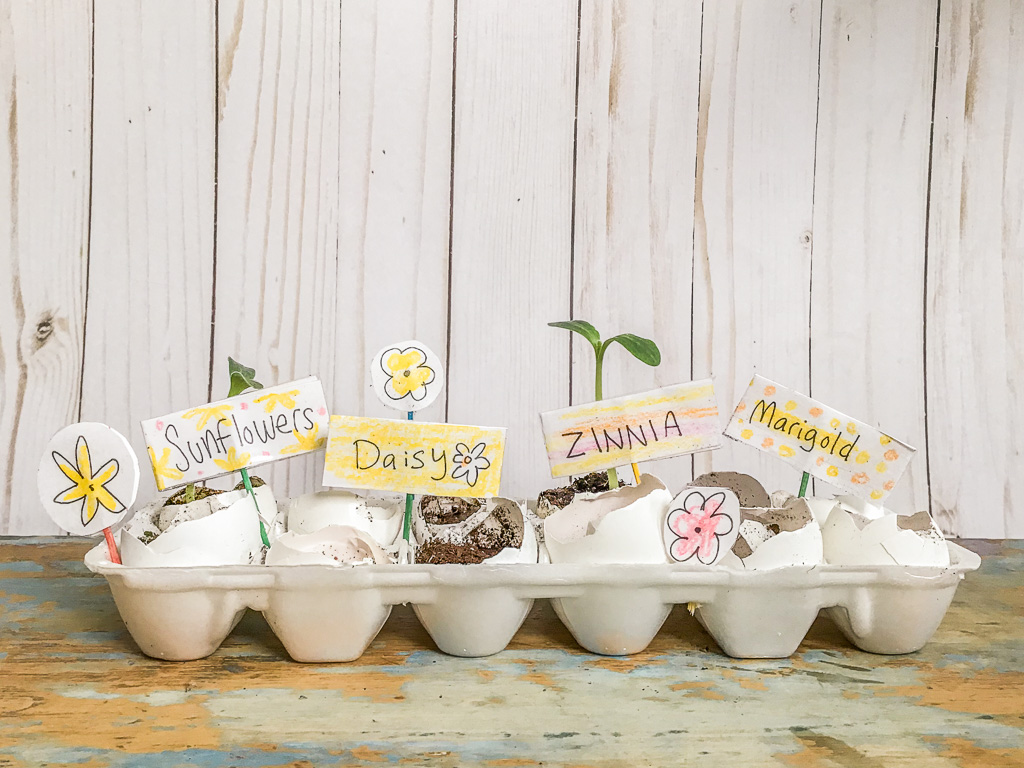
HOW TO MAKE YOUR OWN MINIATURE GARDEN!
Are you looking for a little extra color in your life? Why not start your very own indoor garden!
This project is a great way for your child to tap into their creative skills while learning about
recycling and gardening!
Supplies:
Seeds
Card Stock
Art Supplies
Toothpicks
Glue Stick
Clear Tape (Optional)
Scissors
Egg Carton
Egg Shells
Soil
Let’s get started!

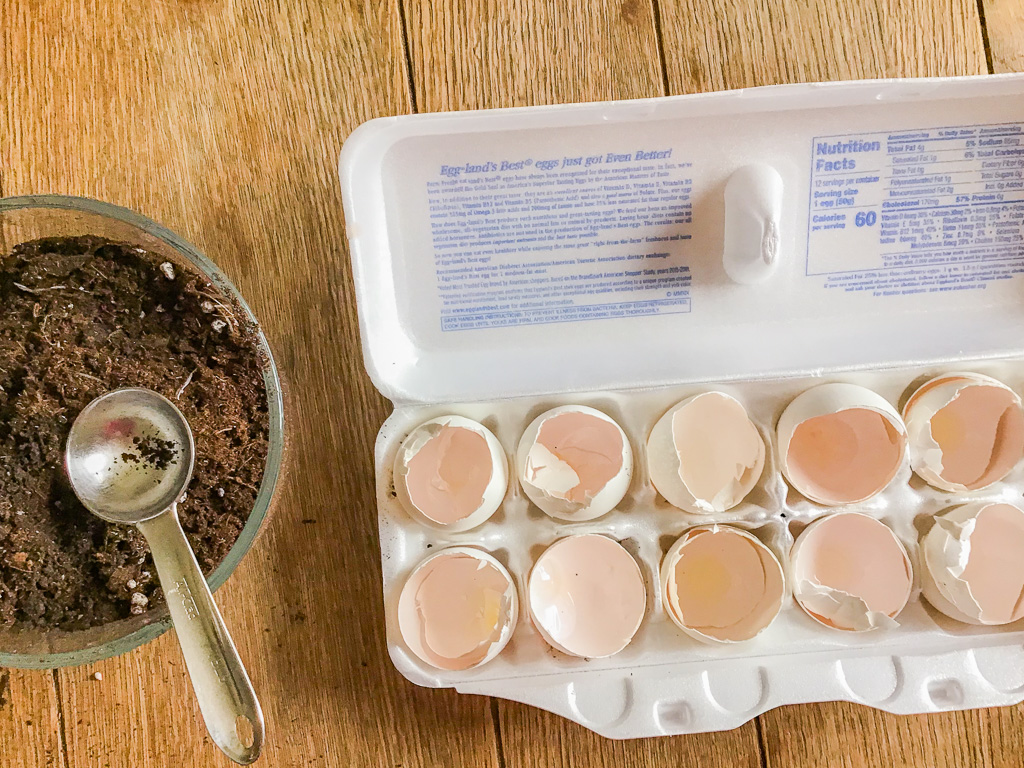
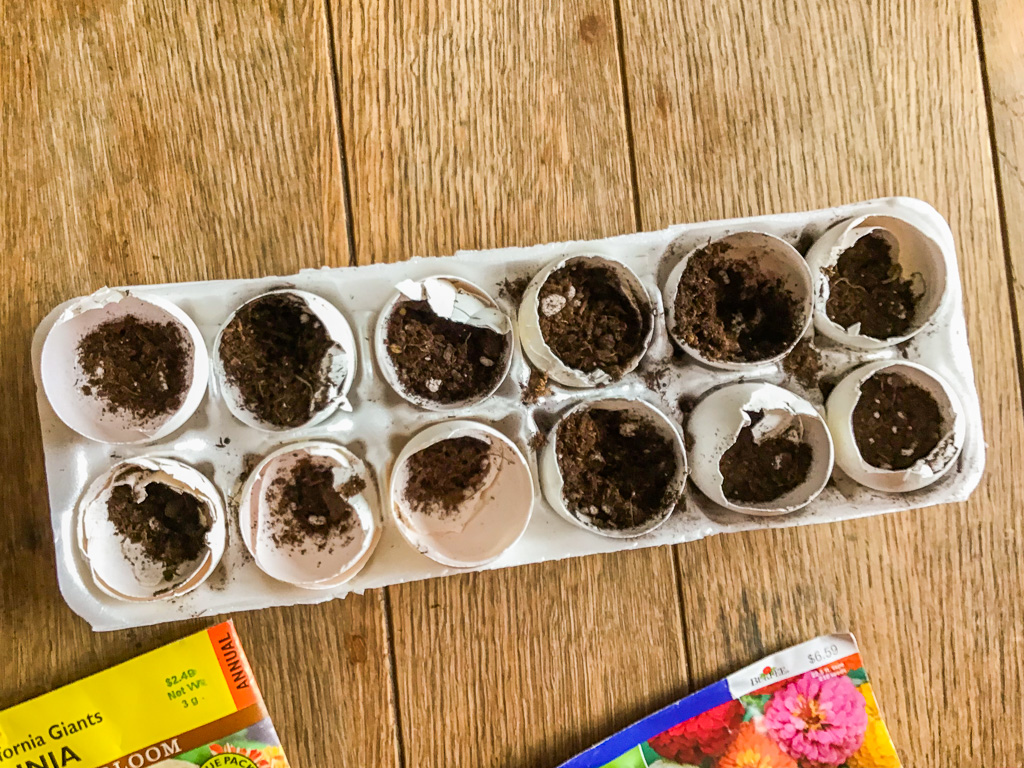
1. Save one dozen eggshells that have been cracked in half and place them in an egg carton. Fill each eggshell with 1-2 tbsps of soil and plant your seeds in each eggshell by following your seed packet instructions.
Note: You can use a pair of scissors to cut off the top cover and bottom closure flab of your egg carton if desired.
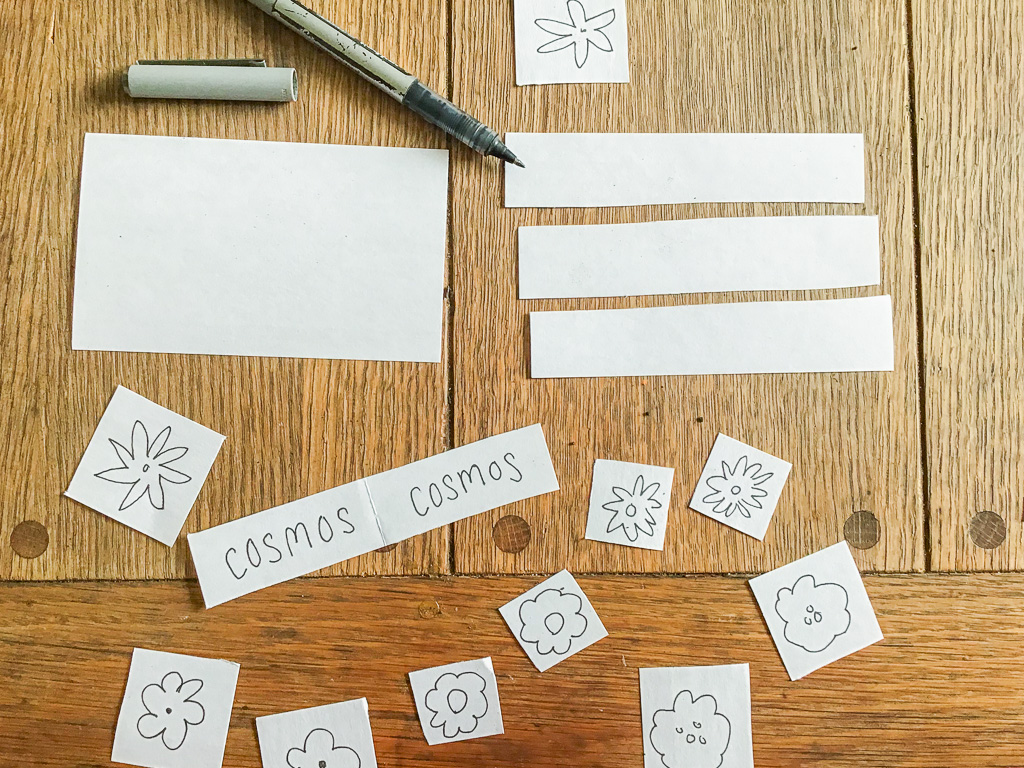
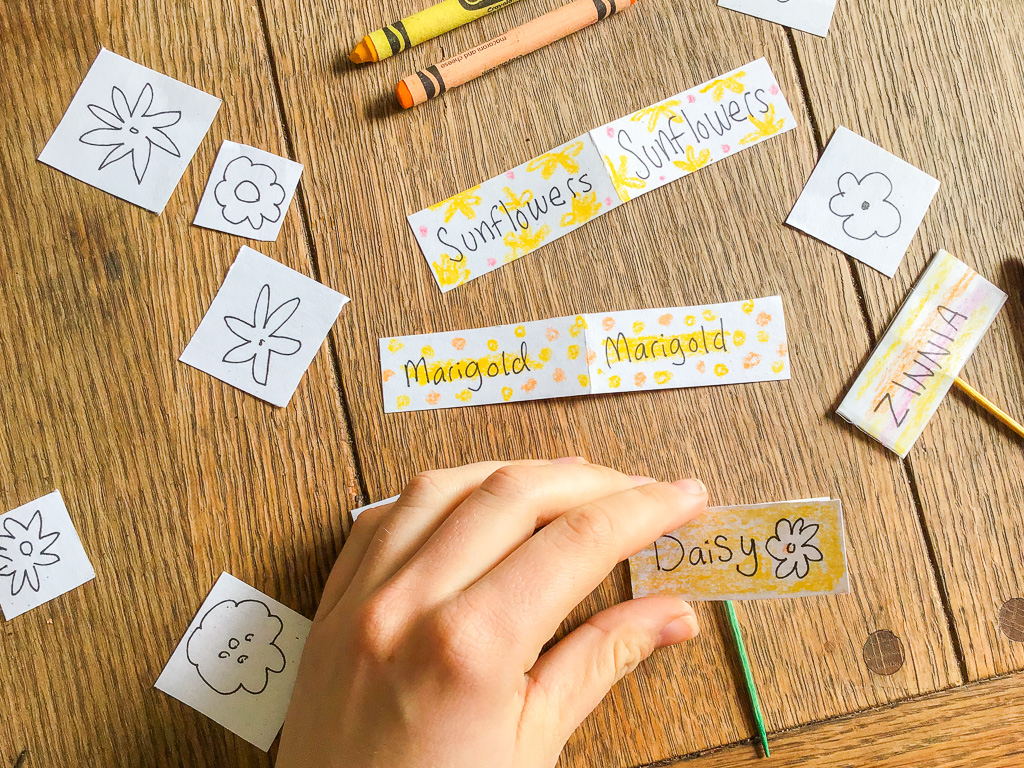
2. Create miniature signs for your garden by cutting a piece of paper into 1-inch x 5-inch strips. Fold the piece of paper in half, and write the name of each seed that you planted on both sides of the crease so that your sign will be reversible. Decorate with crayons, paints, markers, or pencils.
BONUS: If you can’t wait for your flowers to bloom, why not draw your own and place them in your garden for decoration? Cut 1-inch x 1-inch squares and use a pen to draw the outline of what you planted—in this case, we drew flowers!
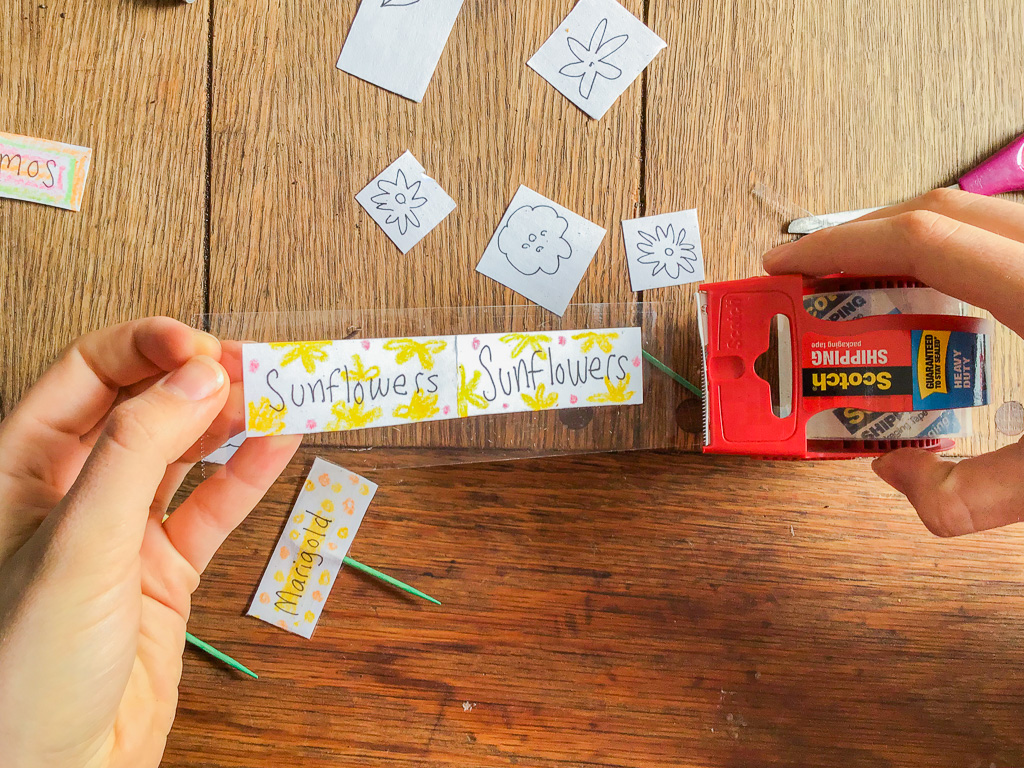
3. To make your signs water-resistant, apply a piece of clear tape to your piece of paper. Fold the excess tape over.
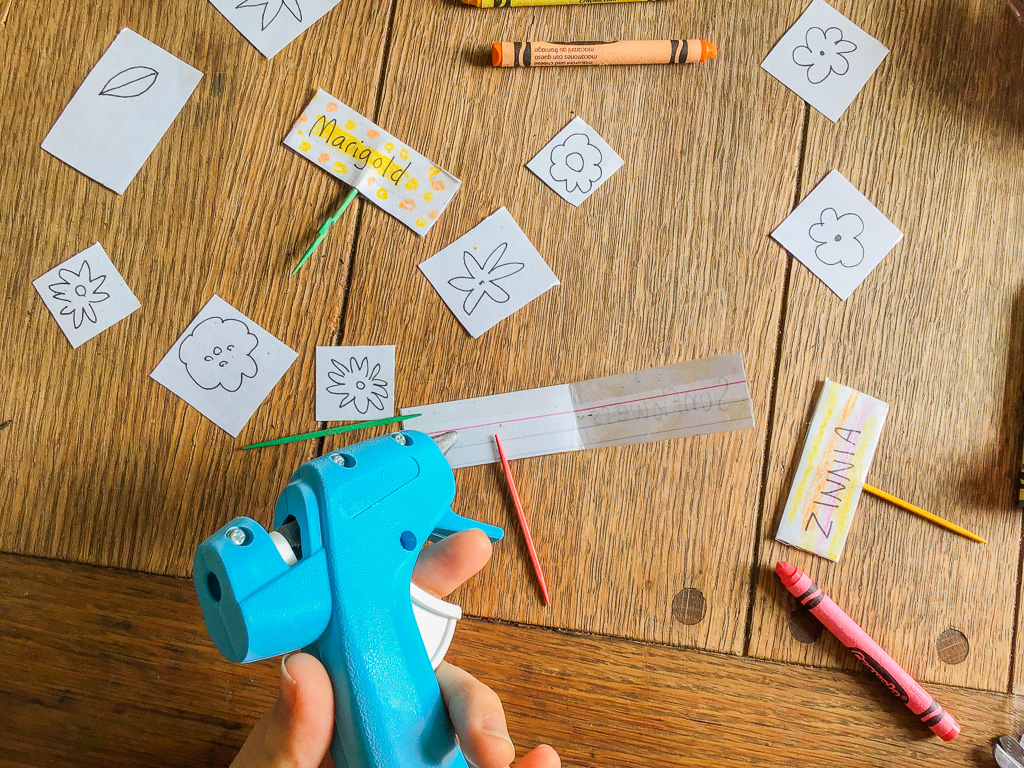
4. Use a hot glue gun or a heavy-duty glue stick to adhere your paper signs to toothpicks.
5. Place your signs in your garden by the seeds that they correspond with.
6. Water your garden and watch it grow!
