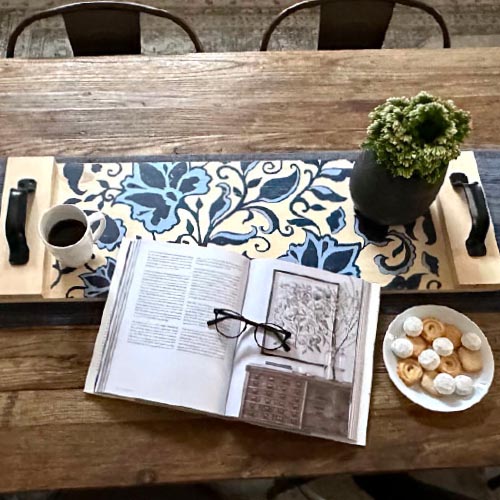
Let’s Create a Spooky DIY Cauldron
When you leave a Board & Brush workshop, there’s a good chance you’ll be hooked on the concept of DIY! Once you realize how fun it can be to create décor with your own two hands… it’ll be hard to keep that newfound creativity bottled up!
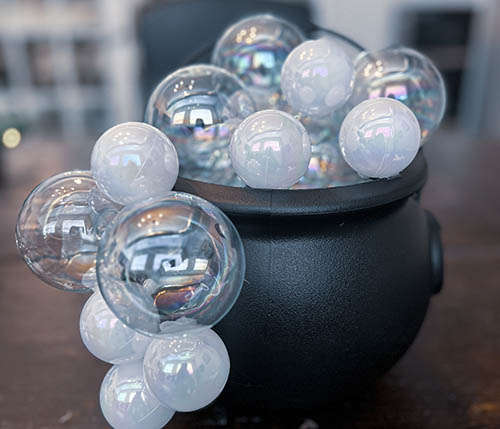
That’s why today, we are excited to share a fun Halloween DIY project that you can make at home. A spooky, bubbling cauldron could be just the finishing touch your home needs this fall. Follow along as we bring this idea to life!

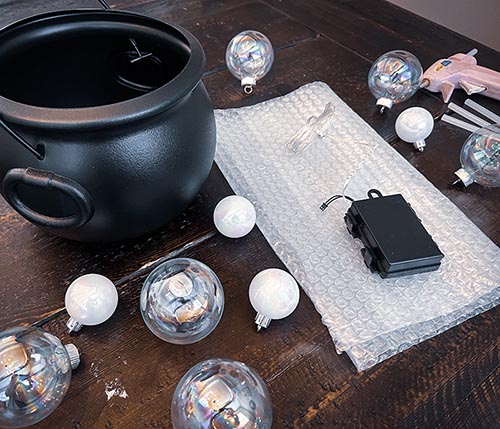
Here’s what you’ll need:
- A plastic cauldron (check your local craft store, or you can purchase it online!)
- A package of medium-sized clear or iridescent ornaments
- A package of small-sized clear or iridescent ornaments
- A sheet of bubble wrap or another kind of filler
- Fairy lights
- Hot glue gun

Let’s Begin:
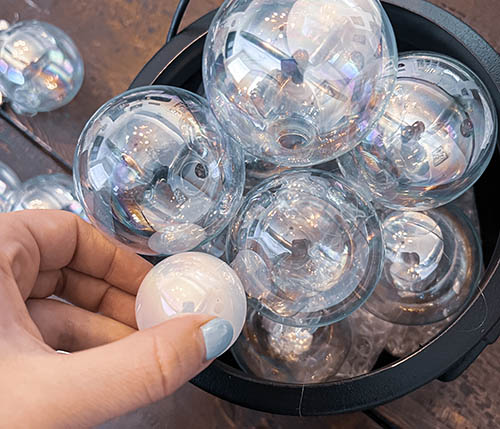
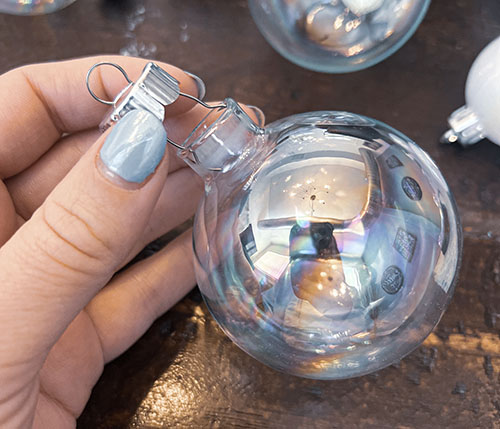
- Start by removing all of the tops from your ornaments

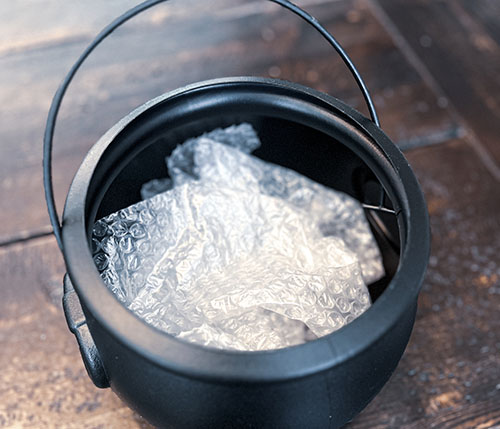
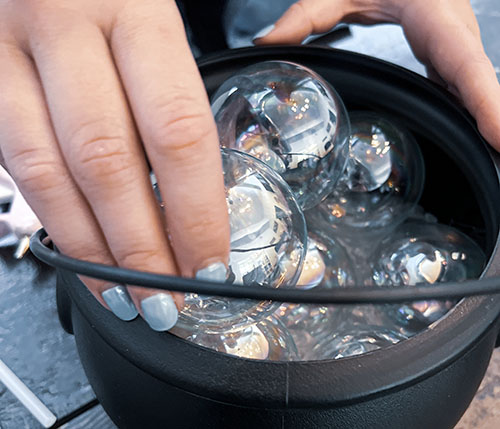
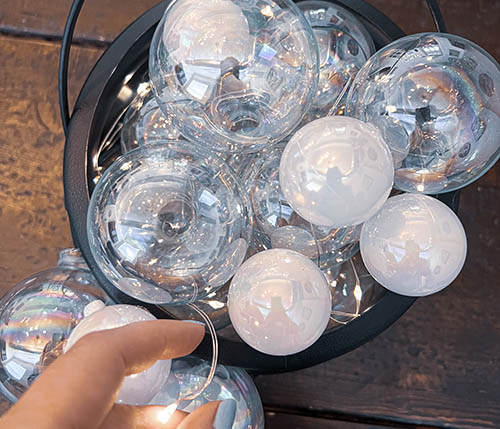
- Next, place the bubblewrap (or other filler) at the bottom of your cauldron. The purpose of the filler is so that your ornaments don’t need to fill the entire cauldron, but rather just the top layer where people can see.
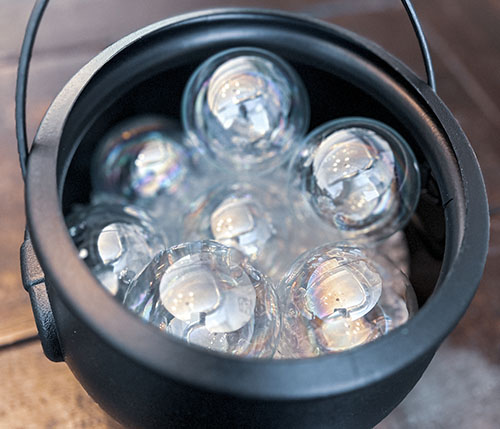
- Then, place your first layer of ornaments. The first layer won’t need to be glued.
Scroll through the gallery to the right ->

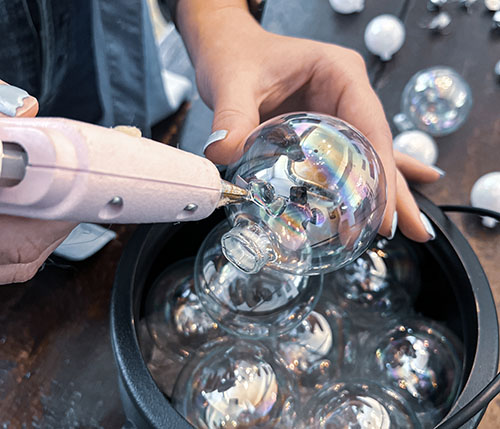
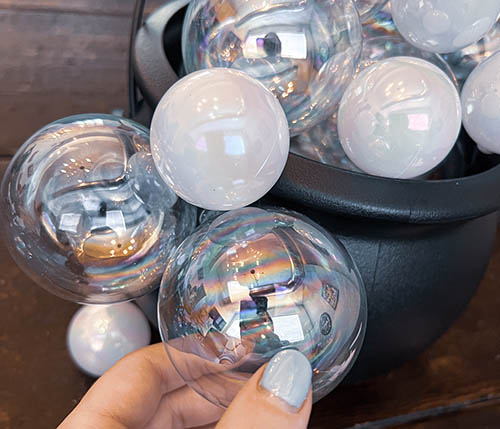
- Once the first layer of ornaments is placed, you’ll begin adding more so that they appear to be growing out of the top of the cauldron. The goal is for the ornaments to look like bubbles falling out of the top! Here is where you will now need to use the hot glue to hold this layer of ornaments in place. Use just a dab on either side of the ornament, carefully connecting them either to each other or the cauldron itself.
- We recommend placing most of your large ornaments first, and then filling in some gaps with the smaller ones.
Scroll through the gallery to the right.

- Now that your cauldron appears to be full, you’ll want to add a couple of medium ornaments and a few small ornaments to the front side of the cauldron. This will help convey the idea that the bubbles are spilling out. Use your hot glue gun to glue the ornaments directly to the cauldron.

- The last step is adding your fairy lights to the inside of the cauldron. The fairy lights we used are battery-operated, so we plan to hide the battery back behind the cauldron. Use the free end to carefully, yet randomly, wrap the fairy lights around the ornaments in the cauldron. There’s no right or wrong way to do this, you’ll just want to make sure the whole cauldron has a generally event amount of lighting!

And that’s it!
Your final masterpiece will be a DIY cauldron perfect for adding a spooky touch to your home this Halloween. We “staged” ours with a festive tray from Board & Brush, making the ultimate DIY décor pairing.
If this project has you feeling inspired for even MORE DIY…Board & Brush would love to host you! Check out our local Board & Brush studio’s calendar to book a workshop with us soon.
