

Spooky Halloween Charcuterie with Board & Brush
As the days creep closer to Halloween, we are so ready to get into a spooky mood! Just imagining the pumpkin patch dates, cozy scary movie nights in, trick-or-treating, and festive Halloween parties to come has us feeling inspired.
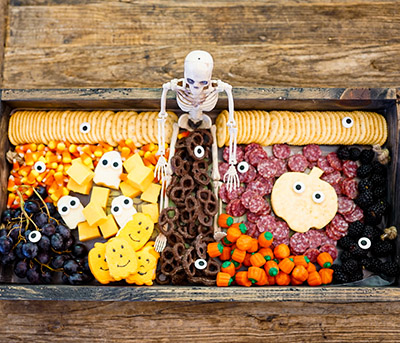
Today, we are going to share our process for creating the ultimate spooky charcuterie board! Our goal was to create something that not only adds the perfect Halloween touch to any upcoming party, but that’s also delicious.
Check it out below!

Supplies you’ll need:
- Board & Brush Tray (we have some great Halloween options!)
- Small cutting board to cut your cheese and meats
- Knife
- Wax paper
- Small Halloween décor pieces (we used a skeleton!)
Ingredients you’ll need:
*Feel free to substitute some of your favorite items if you prefer! There’s no right or wrong way to create this themed board. Here are the products we found success with:
- Cheese round (one that is colored orange!)
- Block of cheddar cheese
- Block of white cheese (mozzarella, white cheddar, brie, etc.)
- Blackberries
- Black grapes
- Salami
- Chocolate covered pretzels
- Candy corn
- Candy pumpkins
- Decorative eyeballs (can be found in the baking aisle!)
- Pumpkin marshmallow Peeps


Creating Spooky Charcuterie:
Prep your ingredients:
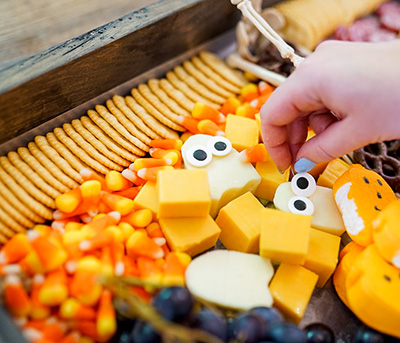
- Start by cutting up your cheese. For an added touch of Halloween, we carved our orange cheddar block into a pumpkin shape and our block of white mozzarella into ghost shapes! To do so, use the tip of your knife to lightly “sketch” out the shape on the top of each block. Once you have your desired shape, use the knife to slowly and carefully cut all the way through the block.(pro tip: if you have any Halloween cookie cutters at home, you can use those to create a fool-proof Halloween shape!)


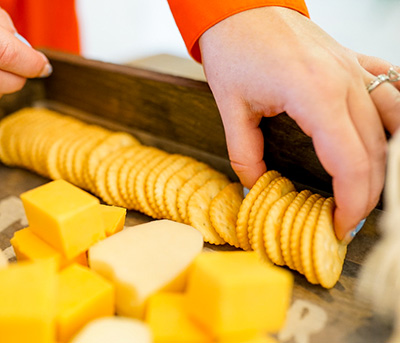
2. If you want some extra cheese, cut another block of cheddar into basic cubes for an added touch of orange
3. Next, wash your blackberries and grapes, then set aside.
Now, let’s assemble:
-
- Begin by placing a piece of semi-transparent wax paper over the top of your board. This will ensure that all your food remains clean and safe to eat, and will also still allow the design to peak through!
- Next, position your added Halloween elements. We placed our skeleton right in the middle, with the intention of spreading the food all around it.
- Begin placing your cheeses. We decided to separate our pumpkin-shaped block and ghost shapes on either side of the skeleton. Next, add your extra cheese cubes around your larger cheese blocks.
- Next, place your crackers. We spread ours in one long line on the back end of the tray.
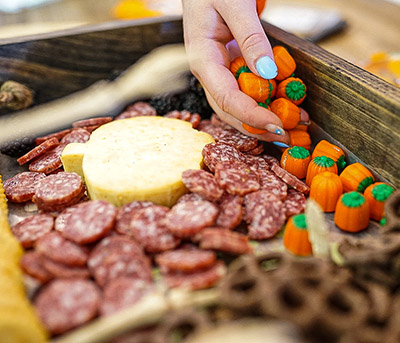
- Now, add in your meats. Try to keep items that pair well together near each other – like salami and cheese. You ideally don’t want your salami mixed in with your candy 😉
- Next up is fruit! We placed our fruit out on opposite sides of the board to space out the sweets.
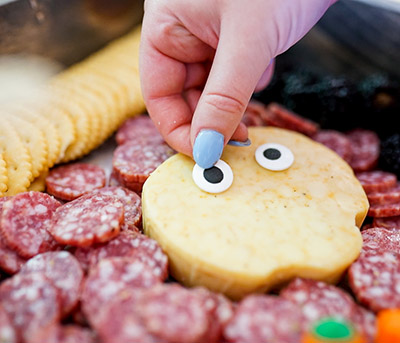
- Lastly, it’s time to sprinkle in your chocolates and candy! Fill in any extra spaces with yummy treats like candy corn, chocolate-covered pretzels, pumpkin peeps, and editable eyeballs.

Enjoy…if you dare!
While putting together your spooky charcuterie board is certainly fun, snacking on it with friends is definitely the best part. We are confident that your board will be the hit of the Halloween party!
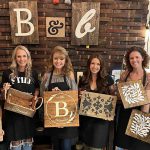
And remember, Board & Brush is the place to be this Halloween! Be sure to visit your local Board & Brush studio to DIY something perfect for the holiday ahead.

Book A
Workshop
—

Book A
Private Event
—

View Our
Gallery
—
